08/07/2026

Professional Cable Entry System VarioPlate.

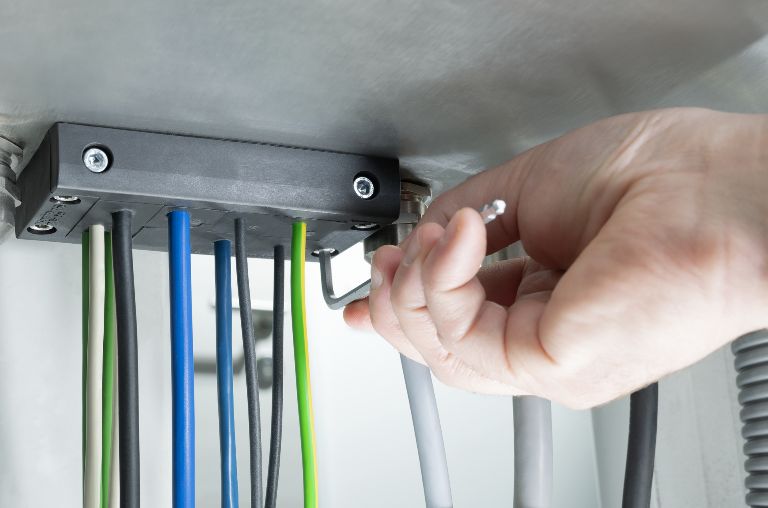
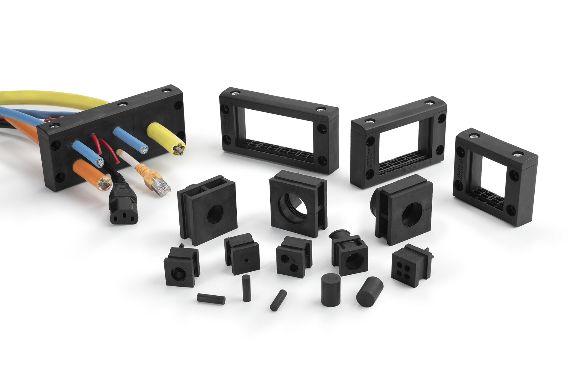
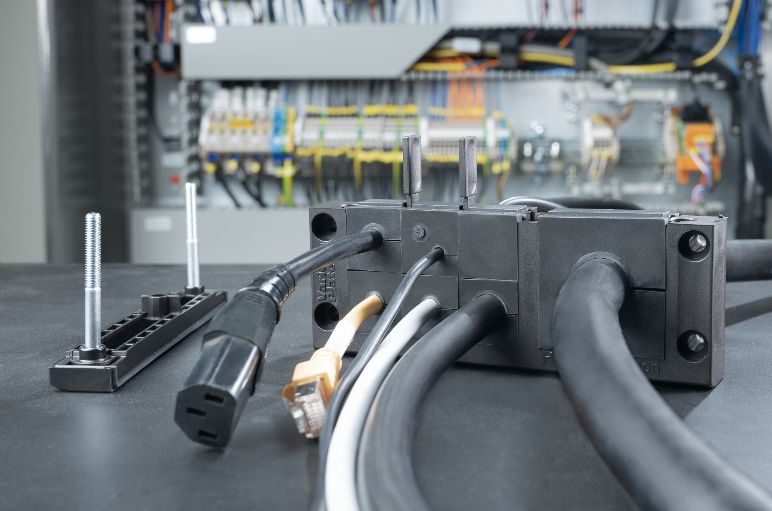
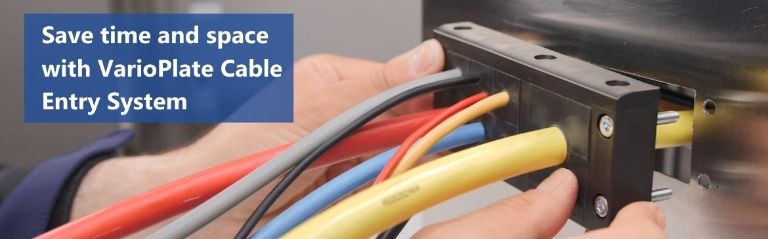
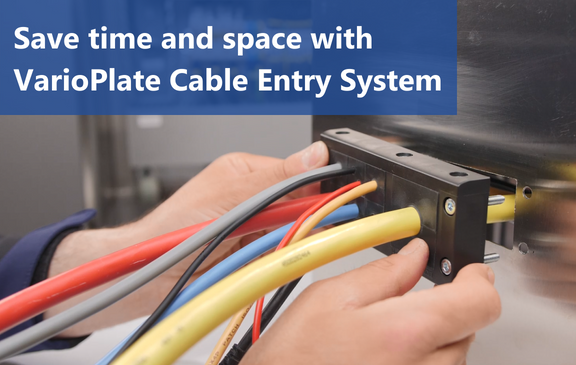
The VarioPlate Cable Entry System is used to install multiple cables of different diameters, with or without pre-terminated plugs or connectors, or wherever space is limited.

Find out more on how to route and seal different sized cables with VarioPlate.


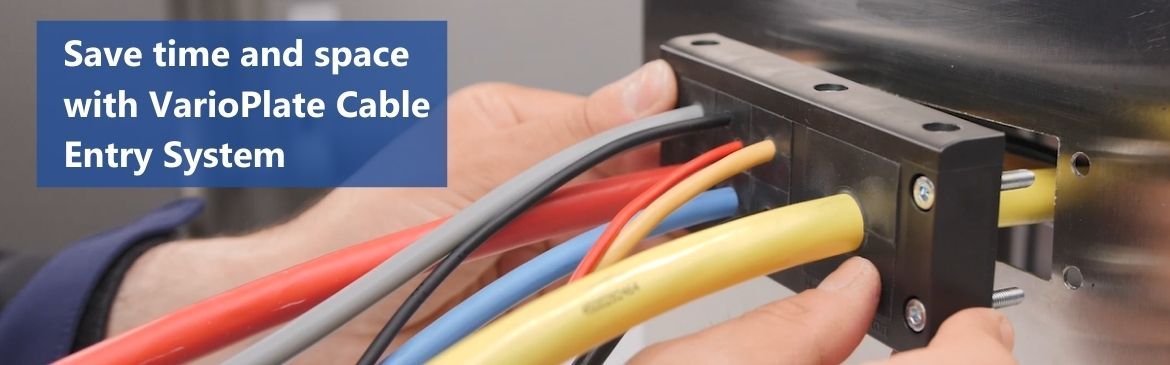
VarioPlate Cable Entry System is used to route and seal cables of different sizes. VarioPlate Cable Entry System is used to route and seal cables of different sizes. VarioPlate Cable Entry System is used to route and seal cables of different sizes.


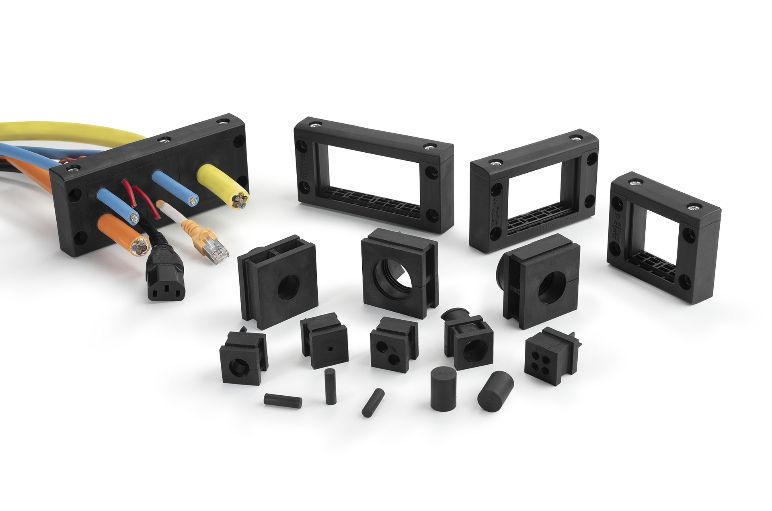
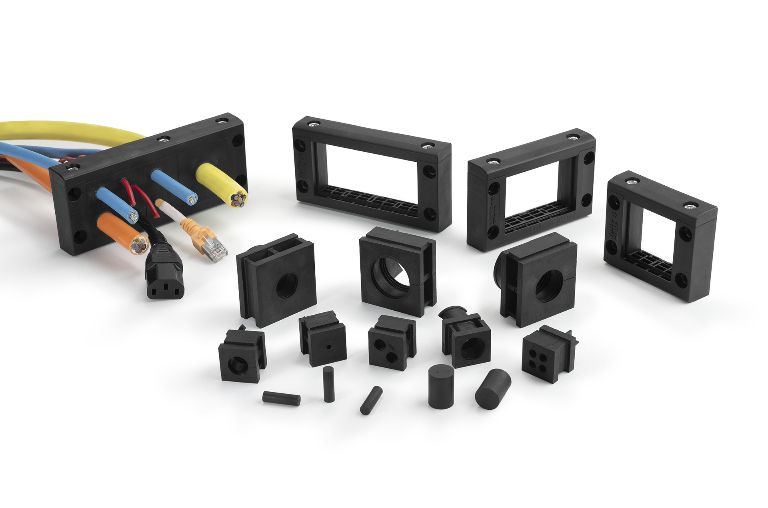
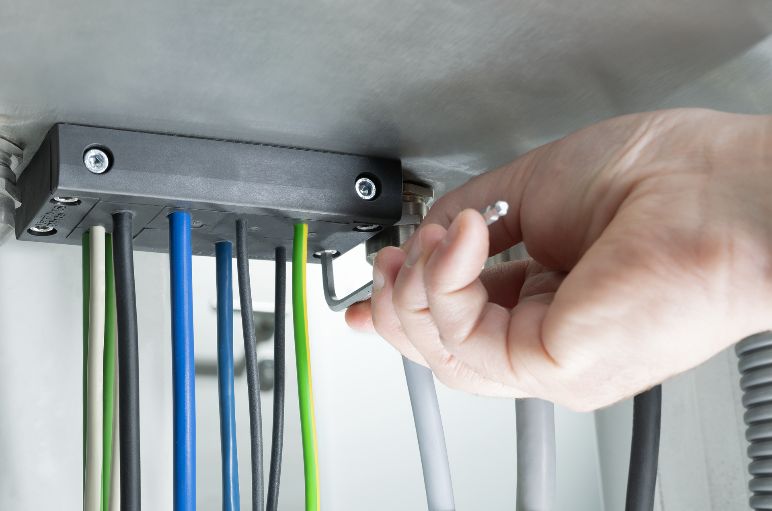
The VarioPlate Cable Entry System is used to install multiple cables of different diameters, with or without pre-terminated plugs or connectors, or wherever space is limited. It is available in 4 different frame sizes (24, 16, 10 and 4) which correspond to the cut-out dimensions commonly used in panel building. Combinable grommets with 1, 2 or 4 holes, are available for cable diameters ranging from 3-16 mm (size S) and 16-33 mm (size L). 
 

System benefits at a glance:

An overview of all product benefits: An overview of all product benefits: An overview of all product benefits:
  • Modular design saves you time and space
  • Easy to assemble and adapt
  • Integrated frame gasket seals up to IP66
  • Small and large grommets combinable in one frame
  • Inserts include moulded strain relief retainer
  • Design of insert hole compensates for cable diameter tolerance
  • Suitable for all common cut-out dimensions 
  • IP65 and IP66 approved design
 

Easy as 1-2-3: the VarioPlate configurator.

1.    Choose between four frame sizes
2.    Combine grommets (1, 2 or 4 holes) for your cable diameters
3.    Print or save the data directly to your computer 

 Quick and easy, in a few simple steps!
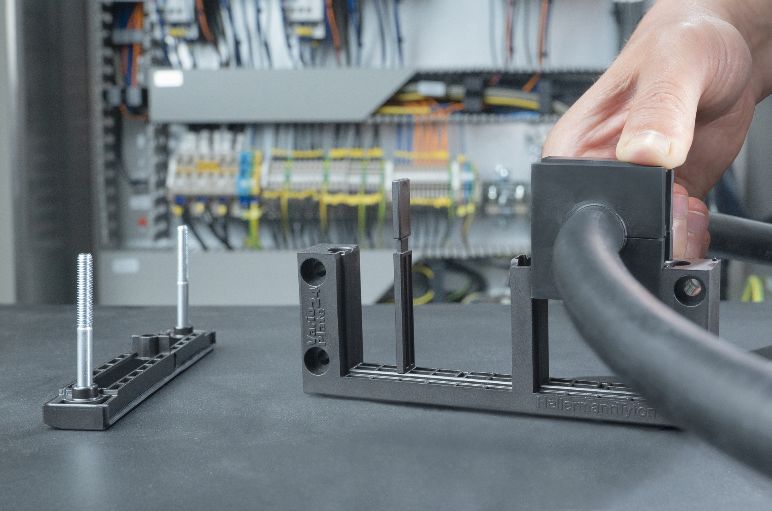
Save time during installation:

Step 1: open the frame to insert the grommets
Step 1: remove the upper frame and install grommets
Step 2: choose your grommets in small and large size
Step 2: combine grommets (1, 2 or 4 holes) for cable diameters from 3 to 33 mm
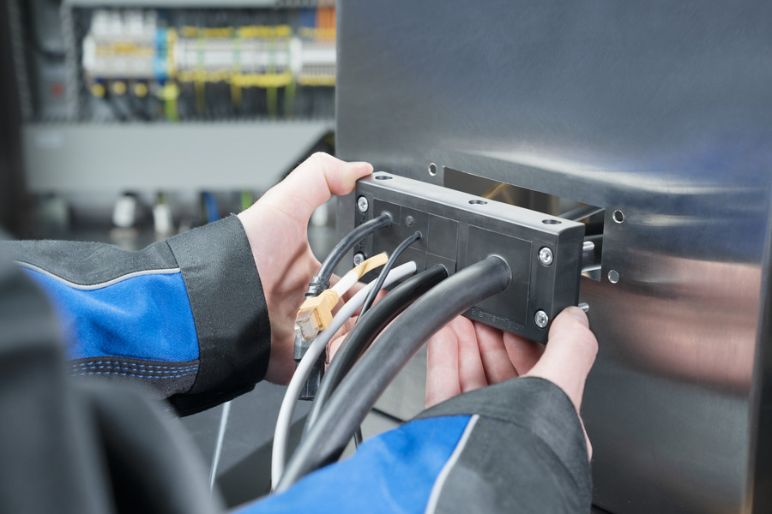
Step 3: close and apply to the cabinet
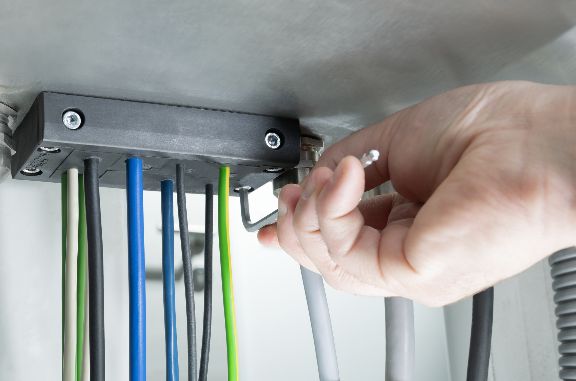
Step 3: close the upper frame and bolt firmly onto enclosure
Contact