Visit the website for your country to get more information and discover our products.
 Argentina
 Australia
 Brazil
 Bulgaria
 China
China Czech Republic
 Denmark
 Finland
 France
 Germany
 Hungary
 India
India Italy
Italy Netherlands
 North America
 Norway
 Poland
 Portugal
 Romania
 Singapore
 Slovenia
 South Africa
 South Korea
 Spain
Spain Sweden
 Switzerland
 Thailand
 Türkiye
 United Arab Emirates
 United Kingdom
30/09/2026

Damage to electrical wiring from drilling into walls is a surprisingly frequent phenomenon – especially when buildings are being renovated. Not only do the lights go out, but you usually blow a fuse as well. With a bit of luck, you might only have to repair the cable sheath. But if you damaged or severed a wire, just using a terminal strip, insulation tape and some silicone sealant are not recommended – you need some professional kit!
Please note: In general, electrical power cables in the wall or cavities most likely run vertically and horizontally from switches and sockets. If you suspect that an electric cable has been hit, it is absolutely necessary to repair it. You should immediately ensure that the power is switched off before touching anything. In the worst case, if the protective earth conductor has been damaged you otherwise run the risk of a fatal electric shock.
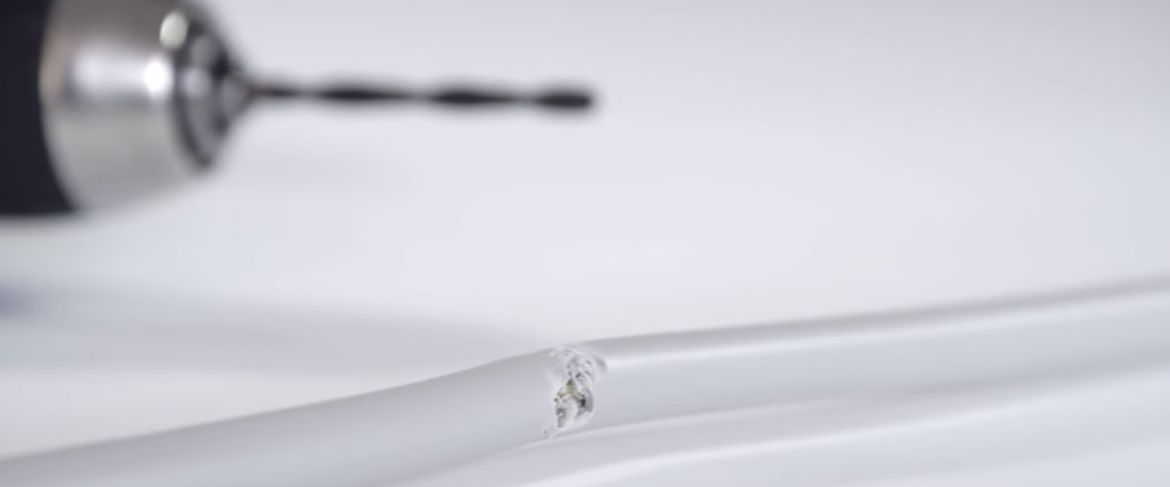
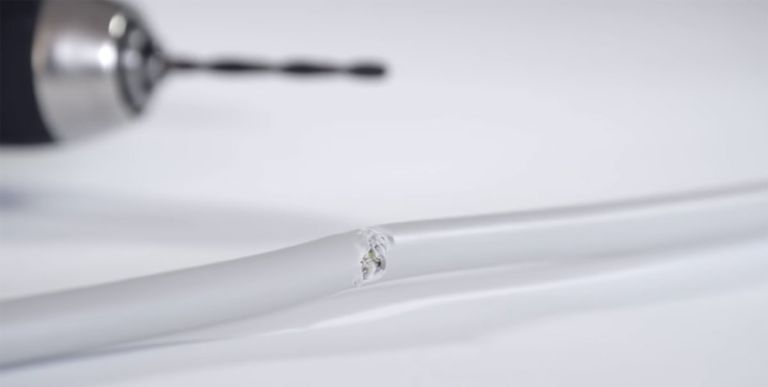
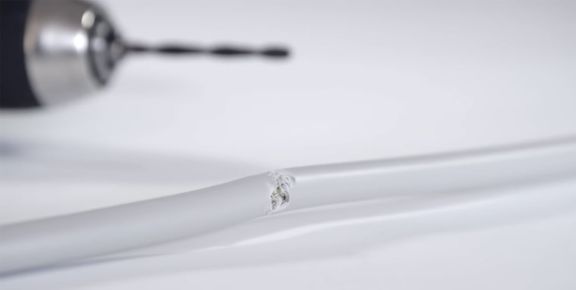
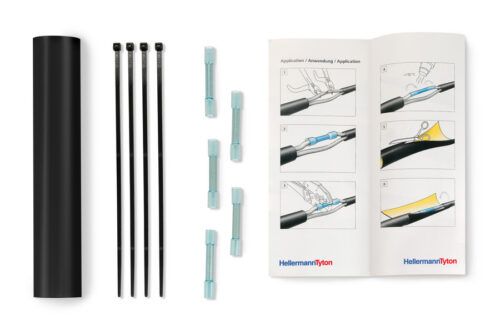
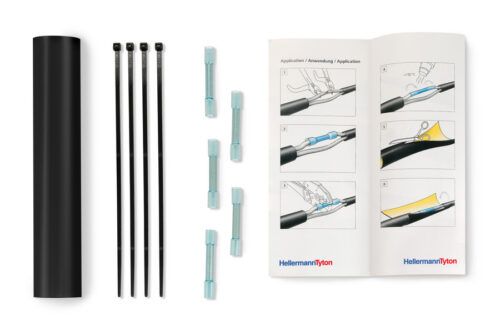
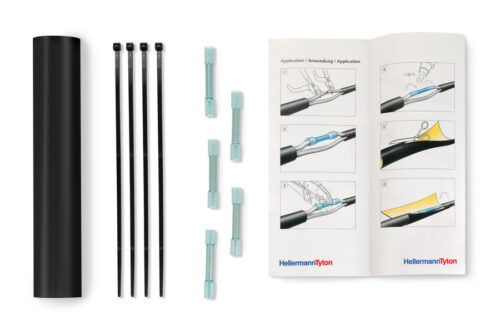
HellermannTyton‘s recommends to use the LVRK-L Cable Repair Set for low-voltage wires. The handy pack contains everything you need to safely repair electrical wires that have been hit by a drill or severed by cutters or a blade. It’s a space-saving solution, too. There’s no need to pull new cables or channel out a large cavity to install a flush mount junction box.
Compared to the predecessor model (LVRK), the new kit includes longer 30mm crimp connectors. Compared to the shorter connectors, these are easier to process because two crimps are now possible instead of just one. In addition, the new connectors are suitable not only for flexible cores (multi-core), but also for rigid cores.
A further benefit: To use a flush-mounted box, a correspondingly large recess is required in the wall. A cable repair with the LVRK-L-Kit, on the other hand, is much more space-saving and causes less wall work – and thus less dirt.
This video shows how easy it is to use the Cable Repair Kit. You can see the predecessor model LVRK (with the shorter crimp connectors). The handling with the new LVRK-L set is almost identical – with the difference that thanks to the longer connectors now two crimps are possible.
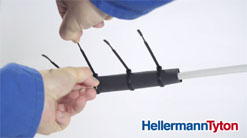
The cable repair set includes:
Ask your wholesaler or contact HellermannTyton sales directly.
More details: Cable Repair Kit LVRK-L
Ask your wholesaler or contact HellermannTyton sales directly.
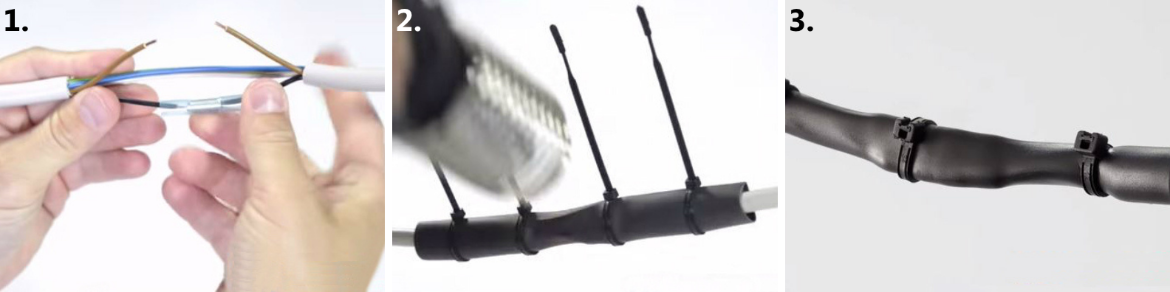
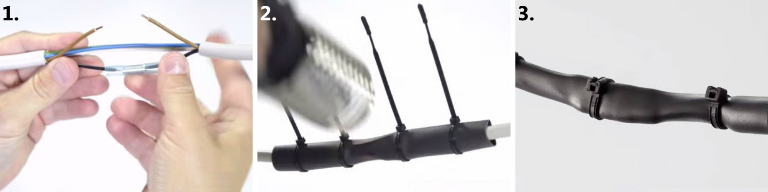
1. Observe all precautionary measures! Only after ensuring that the power is really off, remove the cable sheath from the affected area and separate the wires to expose the damaged section. Then insert the required number of crimp butt connectors and heat them to 150 °C so that the heat shrink insulation fits snugly around the connection.
2. After that, slip the pre-slit heat shrink sleeve over the repaired section and fix it in place with the heat-stabilsed Q-cable ties supplied. Heat the sleeve from the middle outwards until the adhesive and the sleeve completely seal the spot. The adhesive also prevents moisture from entering. You can tighten and cut off the excess cable tie when finished.
3. As soon as everything has cooled down, the power can go back on – fast, safe, durable and cost-effective. You can plaster the repaired cable in place and off you go! No flush mount junction boxes, no fuss and minimal mess.Apart from a crimper and a hot air gun you don’t need any special tools.
As a rule, liability insurance pays the damage. However, in the case of negligent action, exceptions may occur. A record of where the wiring is installed or a device for detecting wires and pipes can help you prevent mishaps occurring. However, don’t rely on it 100 %. Only drill where really necessary and exercise extreme caution.